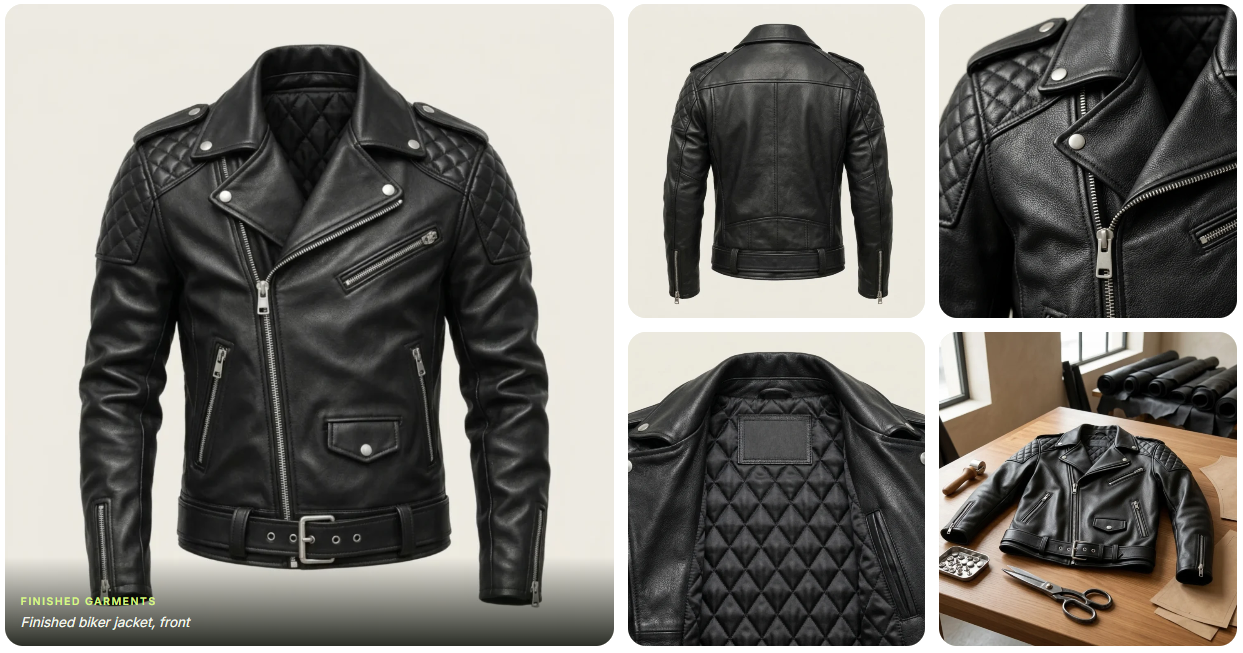

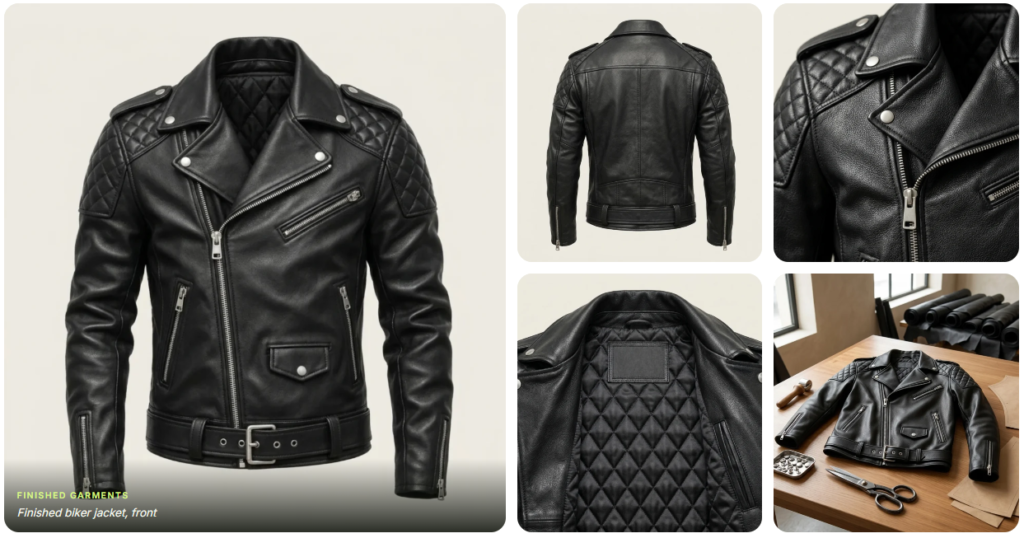
The leather jacket sampling is not just making a nice piece to send to the buyer. It is a test run of the whole order. Every problem that slips through the sample comes back later in bulk, multiplied by the order quantity. In our factory in Sialkot we make leather and textile garments for brands in many countries, and we have learned that most bulk problems can be traced back to one check that was skipped at the sample stage.
Below are the eight checks we make on every leather jacket sample before we ask the buyer to approve it. They are simple, but they need discipline.
1. Hide selection and grading
Leather is a natural material. Two hides from the same lot can differ in thickness, grain and colour. Before cutting the sample, we pick hides that match what bulk will use, not the best hide in the store. If the sample is cut from a perfect hide and bulk is cut from average hides, the buyer will see a difference and lose trust.
We grade each hide for marks, scars and loose grain, and we mark the areas that can go on the front panels and the areas that should only go on under collars, facings or inside pockets. The sample should be cut using the same rules.
2. Thickness check across the panels
The tech pack usually gives a leather thickness. We measure it on several points of each panel, not once per hide. A jacket where the sleeves are thinner than the body will hang badly and wear unevenly. If thickness changes too much across a hide, we either skive it to an even level or use that part for smaller pieces.
3. Pattern and nesting for leather jacket sampling
Leather patterns must allow for stretch direction. A sleeve cut across the stretch will grow after a few weeks of wear. During sampling we confirm the stretch direction for each piece and check the nesting plan, which is how pieces are laid out on the hide. A good nesting plan saves leather in bulk, so it is worth fixing at the sample stage instead of on the cutting table later.
4. Seams, stitch length and thread
Leather does not forgive a wrong stitch. Every needle hole stays visible, and a stitch that is too short can weaken the leather like a perforation line. We agree the stitch length, thread type and needle size on the sample and write them down. Top stitching is checked for straight lines and even distance from the edge, because this is the first thing a buyer looks at.
5. Trims and hardware check for leather jacket sampling
Zips, snaps, buckles and pullers are a common cause of returns. On the sample we pull each zip the full length many times, check that it runs smoothly over the seams, and make sure the colour and finish match the buyer’s request. If the buyer wants their logo on the zip pullers, we confirm the size and position on the sample, not after bulk trims are ordered.
6. Lining and inner construction
The inside of a jacket matters as much as the outside. We check that the lining is not too tight, which would pull the leather, and not too loose, which would bunch at the hem. Inner pockets, labels, wash care labels and any armour pockets are placed exactly as the tech pack shows. For motorbike jackets we also confirm that the armour fits the pockets and sits in the right place when the arms are bent.
7. Branding placement
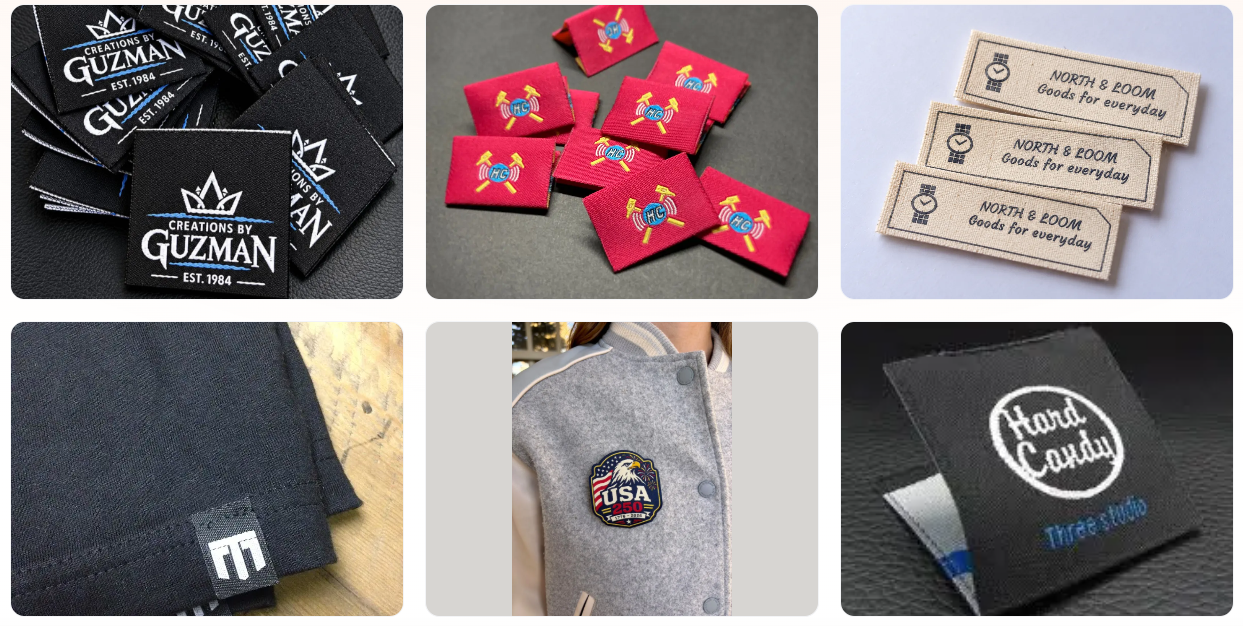
Branding is where brands are most sensitive. Whether the brand logo is screen printed, embroidered, embossed or added as a patch, we measure its size and position against the tech pack with a ruler, not by eye. We send close photos of the branding to the buyer with the measurements written next to it. A logo that is 1 cm off centre on the sample will be off on every piece in bulk unless it is corrected now.
8. Measurements and fit
Finally, in leather jacket sampling process we measure the finished sample against the size chart: chest, waist, hem, shoulder, sleeve length, back length and collar. Leather can shrink or grow slightly during sewing and finishing, so we note the difference and correct the pattern if needed. If the buyer has a fit model, we ask for fit photos or comments and adjust before approval.
Related Post | Pre-Production Sample: A 12-Point Checklist Before Bulk
What we send with the sample
Along with the sample itself, we send the buyer:
- Clear photos from the front, back, sides and inside.
- Close photos of stitching, zips and branding.
- A measurement sheet against their size chart.
- A short list of any changes we suggest, with the reason for each.
This makes approval faster, and it gives both sides a written record. When bulk starts, our production team works from the approved sample and the same notes, so the sample and bulk match.
Why this matters for small brands
Many new brands order small quantities. For them, a bad bulk run is not just a cost, it can stop the brand. Careful sampling protects them more than anyone. A factory that takes Leather jacket sampling seriously will usually ask more questions at the start, and that is a good sign.
If you are a brand preparing your first leather jacket order, ask your factory how they handle each of the eight points above. Their answers will tell you a lot about how your bulk order will look.